Getting Started
Getting started with Procorem is easy using this checklist.
Create an account. To begin, you either need to be invited by an existing user or create your own account.
Create an account—To create a new account, visit this site to get started today. After you enter your information, an account will be set up for you.
Get invited to an account—When you invite guests to Procorem, they will receive an email asking them to join your existing account. Guests click the link in the invitation, create a login, and join the account. It is up to the Account Administrator to determine the level of access for the new user. To learn more about Procorem security, check out the Security, Permissions, and Guests section of this Help Center.
Create a WorkCenter.
Within Procorem, WorkCenters act as project hubs and can store documents, tasks, project activity, posts, calendar information, and much more. WorkCenters are invite only, so you choose who has access to key project information. To learn more about WorkCenters, check out the WorkCenter Introduction section of this Help Center.
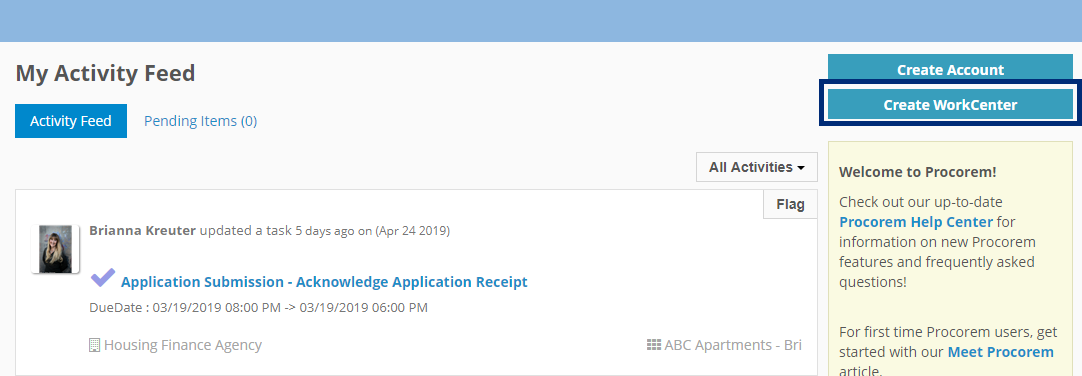
Create WorkCenters either from the Home screen or head to the account you would like to create the WorkCenter for and create from there.
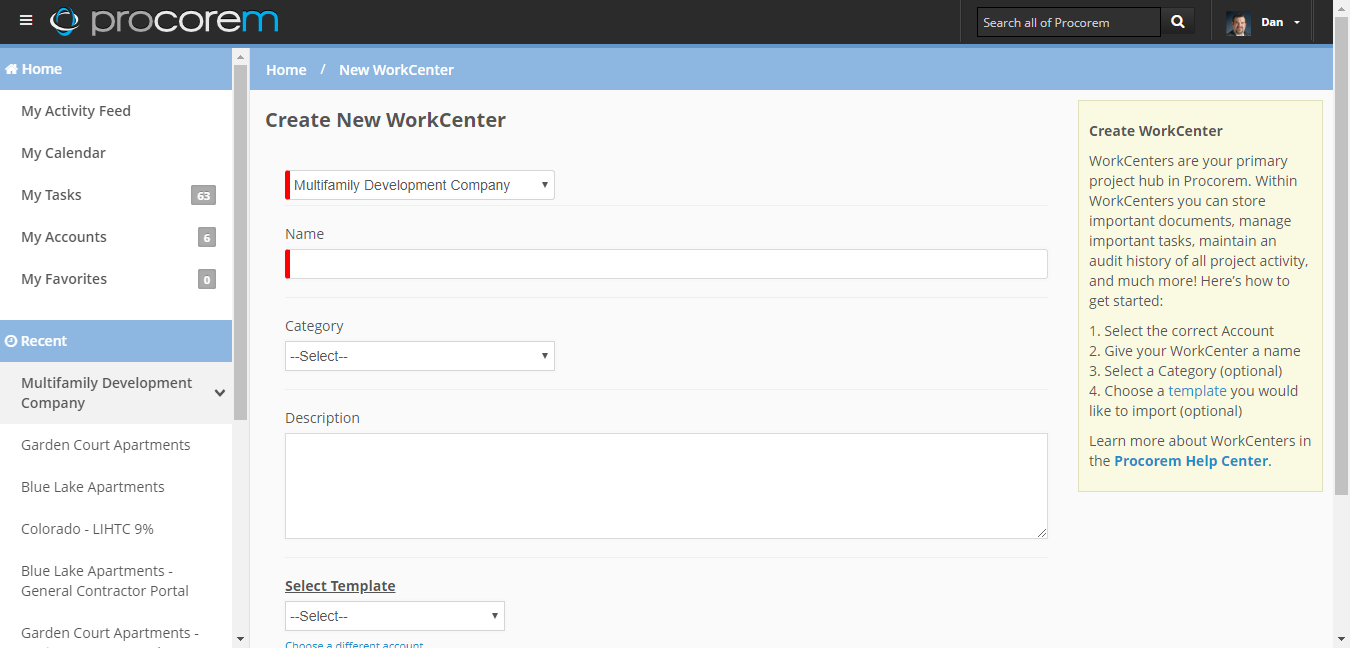
Enter a bit of information about the WorkCenter you are creating, such as which account the WorkCenter belongs to, the name of the WorkCenter, category if one exists, and description.
Note
You have to be a member to create WorkCenters. To learn more about Procorem roles, check out the Security, Permissions, and Guests section of this Help Center.
Invite your first collaborators.
Collaborating with colleagues, external partners, and clients is what brings Procorem to life. Now that you have your first WorkCenter created, it is time to invite some collaborators. Collaborators can be either internal to your organization or external project participants. Procorem’s security ensures your data is restricted only to those you want involved in the project.
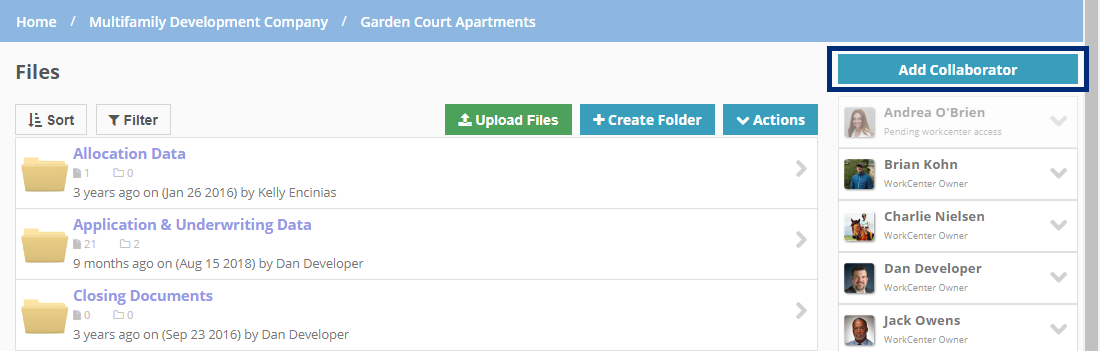
First navigate to the WorkCenter. Then click Add Collaborator in the right panel.
Next invite new users to the WorkCenter, both those who currently use Procorem and those who do not.

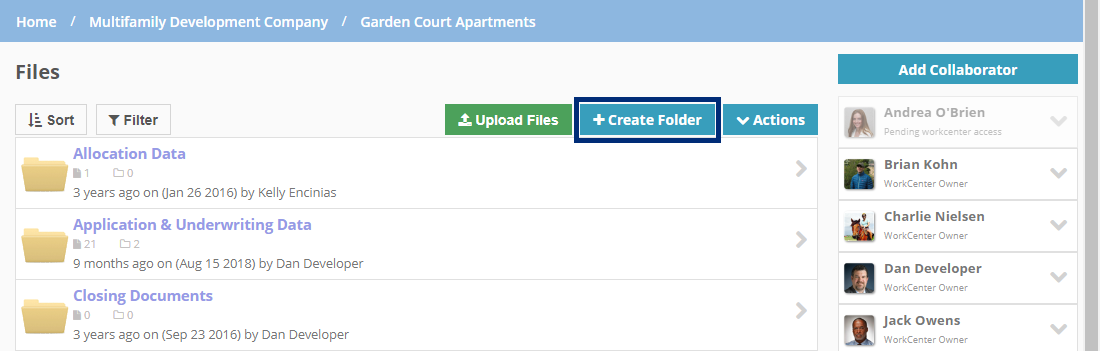
Create folders and upload files.
Procorem provides a flexible file storage and collaboration structure that allows you to determine how you want to store and share your files. File storage begins with a folder structure. There are no restrictions on folders so you can create a structure that makes the most sense for your project.
Within the WorkCenter, click Create Folder at the top of the screen. From there, name the folder and begin uploading files.
Once you have settled on your folder structure, it is time to start uploading files. You can upload multiple files at the same time and up to 2 GB of data at once.
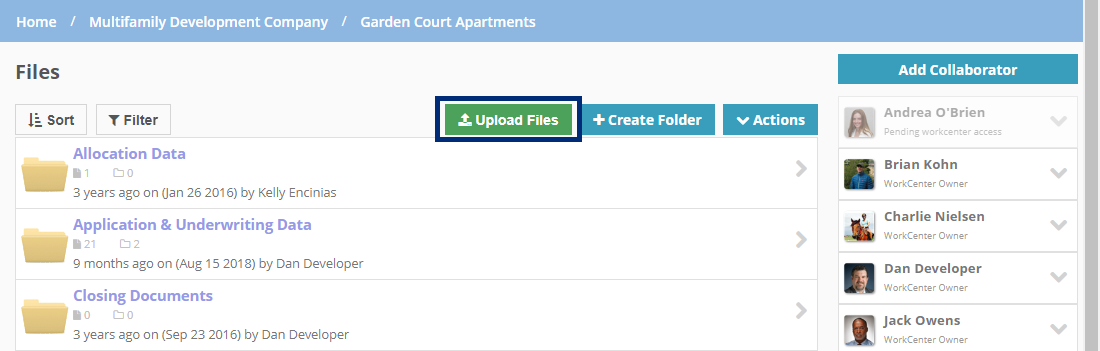
You can choose the file from your directory or drag and drop multiple files directly from your computer.

Tip
Procorem provides the ability to create project templates—saving you and your team time setting up each new project. With templates, you can copy folders, files, tasks, posts, and collaborators between WorkCenters with ease.