Account Settings
Account Settings controls core details about how you actually set up your account structure. Once inside the Account Settings, you will be able to control four core areas: Account Name, Picklists, Logo, Templates, and Announcements.
As with all Account Settings & Configuration pages, you can easily access Account Settings from the left navigation menu on the primary Account View. Only Account Administrators have the ability to access the Account Admin section.
To learn more about accounts and how to navigate around the various account screens, take a quick look at the Accounts & Roles Introduction article.
The Account Tab allows you to change and update your account name to match any changes or updates to your organization name.

Approve Emails
Select the Require Incoming Email Approvals checkbox if you want to make users approve the emails they send to a Procorem WorkCenter. If the checkbox is cleared, then emails are immediately available to all collaborators in the WorkCenter.
If the checkbox is selected, then the collaborator who sent the email to Procorem will immediately see it show up in the Posts section of the WorkCenter. However, the rest of the WorkCenter will not see the email until the originator approves it. The approval process can be put in place to avoid any spamming of your email from unwanted parties.
See Emails and Posts for more information about approving emails.
WorkCenter Administrator Adds Self to a WorkCenter
The system will send an email if a WorkCenter Administrator adds themselves to a WorkCenter when the Send an email alert if a WorkCenter Administrator added themselves to a WorkCenter checkbox is selected.
The email is delivered to all Member collaborators on the WorkCenter. This notification provides transparency so that a WorkCenter Administrator cannot add themselves to a WorkCenter to view personally identifiable information in the Tenant Portal without oversight across the collaborators.
The Picklists menu is a bit more complex and powerful than the Account Tab. Picklists are used throughout the Procorem application to classify core project information. Items such as file types, file statuses, and WorkCenter categories can all be managed in this area.
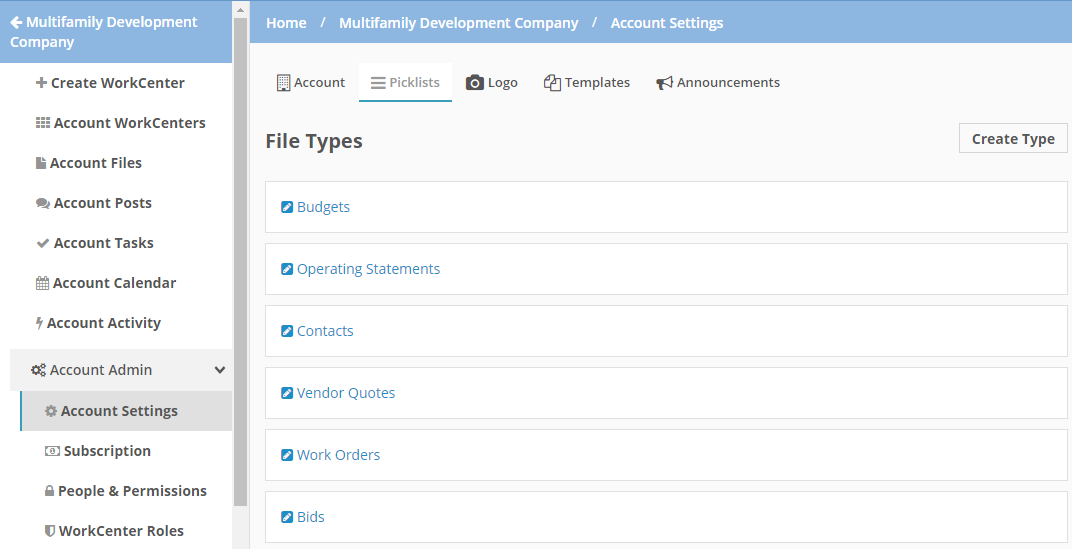
Every time you upload a file into Procorem, you have the option to classify that document for analysis and segmentation. In the Picklists tab you can add as many custom file types as you would like to match your core business processes.
Adding and changing File Types is as easy as clicking Create Type to add a new one or click on an existing File Type to rename. Additionally, File Types can be added on the document screen.
File Statuses are completely customizable and can be attached to every document to provide additional information about the status of that document. File statuses can easily be used to manage the approval of documents and core project information. Update File Status on the document screen or add new ones in the same place.
WorkCenter Categories provide classification for all your WorkCenters. By using WorkCenter Categories, you can classify WorkCenters to match your business. Completely customizable, WorkCenter Categories can be used to represent internal business processes, external partner portal organizations, and more.
To see your WorkCenter Categories in action, head back to the Account WorkCenter View and see how all the WorkCenters are classified.
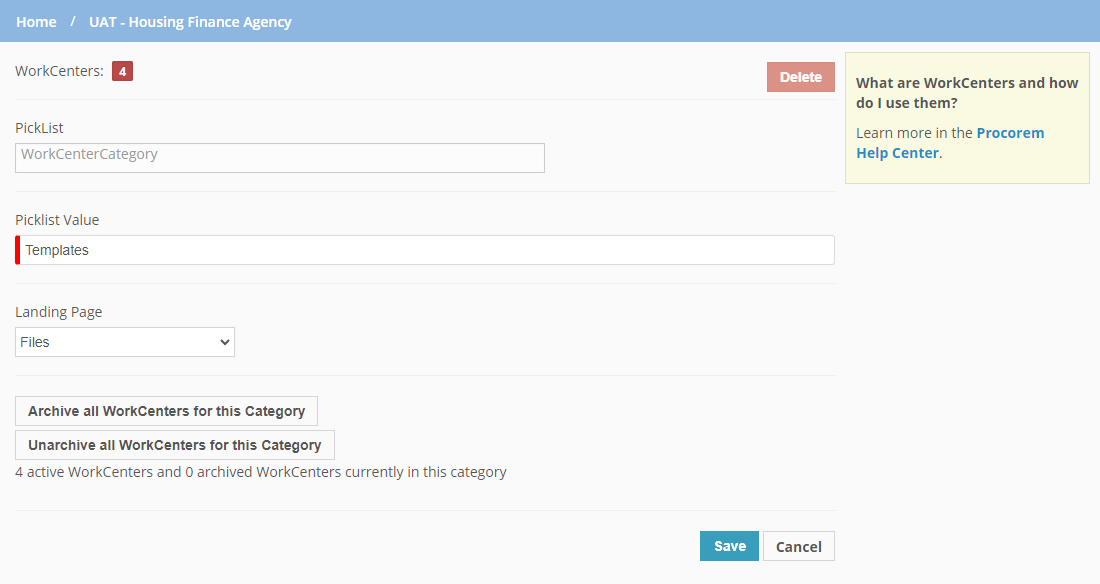
When you set up a WorkCenter Category, you can define which screen collaborators will land on when clicking into a WorkCenter. As a result, collaborators with specific goals in a WorkCenter are guided directly to the appropriate screen. To define the landing screen, select an option from the Landing Page list. The default option for new WorkCenter categories is the Files screen.
You’ll specify the category for a particular WorkCenter through WorkCenter Settings.
Archive WorkCenters
System administrators can archive multiple WorkCenters that exist in the same category. You can:
Archive All WorkCenters for this Category—Change each of the unarchived WorkCenters for this category to archived.
Unarchive All WorkCenters for this Category—Change each of the archived WorkCenters for this category to active.
You cannot unarchive multiple WorkCenters at one time that do not belong to a category. You would need to reactivate the WorkCenters one by one on the Account WorkCenters screen.
Tip
The system includes a ProLink-defined configuration setting that determines the maximum number of WorkCenters that can be archived or reactivated at one time. The current setting is 100. If you need to archive or reactivate more WorkCenters than the maximum limit, you can click the button multiple times to repeat the process.
Once the WorkCenter is archived it will no longer be visible in search, collaborators will no longer receive notifications, and it will not show up in your primary list of WorkCenters. This allows you to segment older, archived projects from current and active projects.
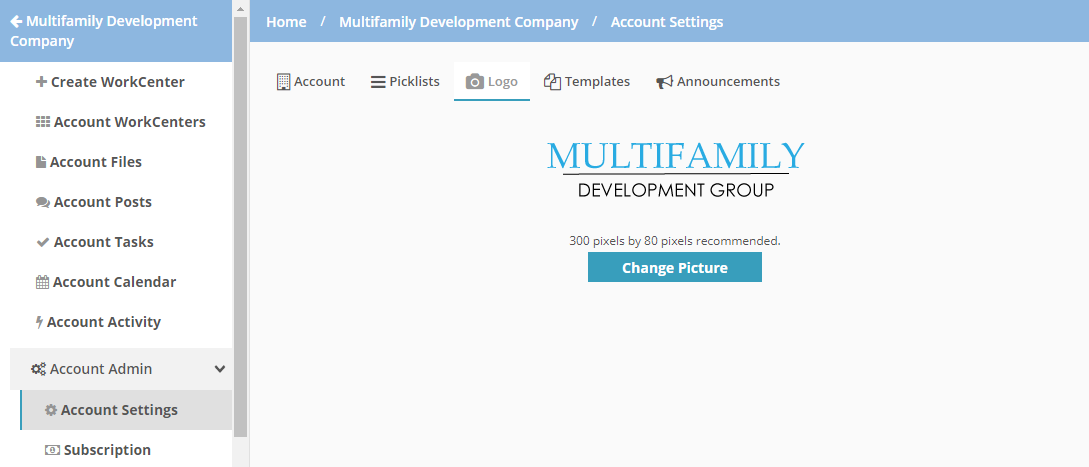
From the Logo tab, you can update and change your logo as you see fit.
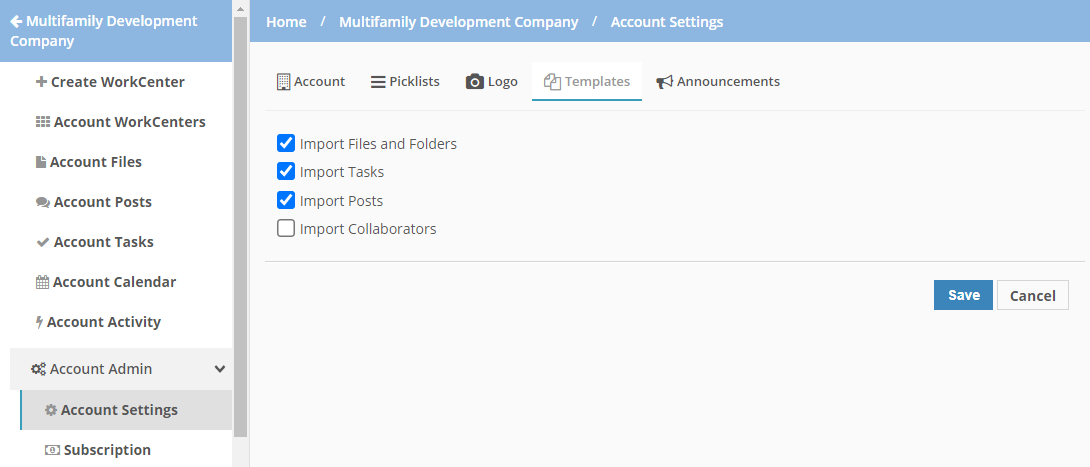
Use the Templates tab to identify default settings to be applied when copying a WorkCenter.
From the Announcements tab, Account Administrators can define messages to be displayed in a banner format on all WorkCenter pages for WorkCenters in a particular category.
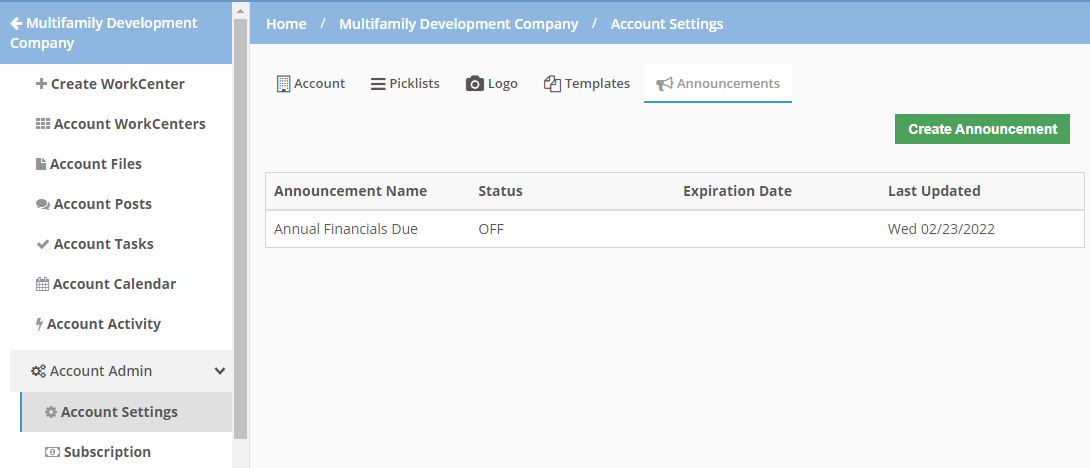
For announcements to be displayed, a WorkCenter must have a category defined, and then you can select the category or categories to which the announcement applies. You set up category values through Account Settings (Picklists), and then define the category for a WorkCenter through WorkCenter Settings.
Procorem users can dismiss the announcement by clicking X. Once dismissed, the announcement is no longer displayed in the browser for that session.

To add an announcement:
Click Create Announcement.
Enter the Announcement Name.
Select whether the announcement is Off (not displayed) or On (displayed).
Optionally, enter the Expiration Date.
If you do not define an expiration date, the announcement is displayed indefinitely.
Enter the content for the Announcement Body.
You can add basic formatting and include clickable URLs.
Select the category or categories to publish the announcement to.
Click Save.