Get Started
First, complete the following Procorem setup.
The same email address must be used for Procorem and Procorem Inspect.
 |
| |
ProLink will enable the property configuration setting and install the app on the account. | ||
 |
| |
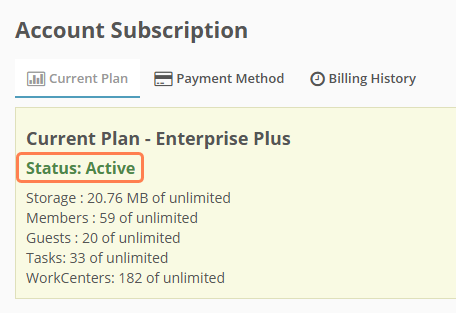
The Procorem account must be active. | ||
 | 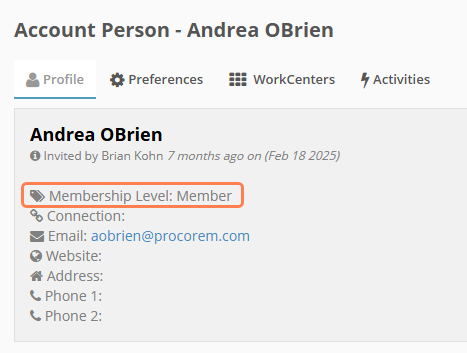 | |
The app user must be an active member of the Procorem account. (Guests cannot connect to the account on the app.) For information about upgrading a guest to a member, see Preferences. | ||
 |  | |
The user accepts the account invitation. | ||
 | 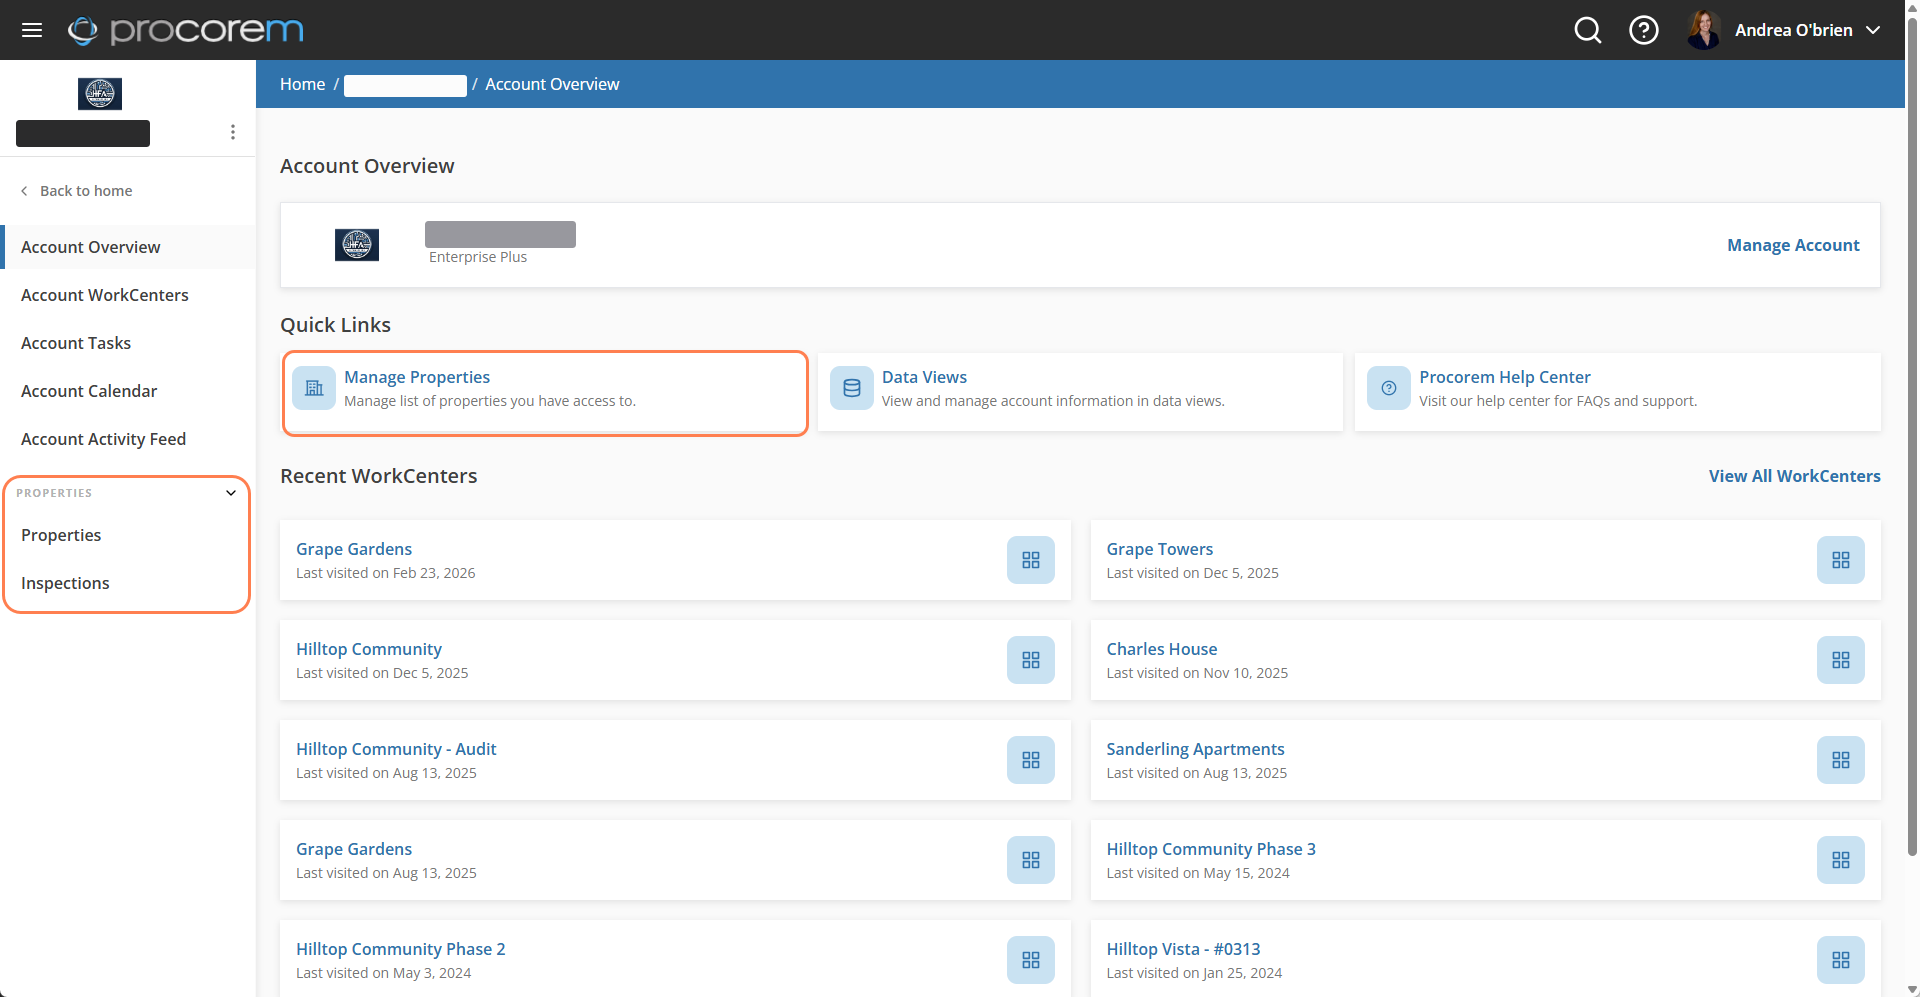 | |
ProLink will enable the Procorem Inspect module for your account, where you can manage the account's properties and inspections. | ||
 | 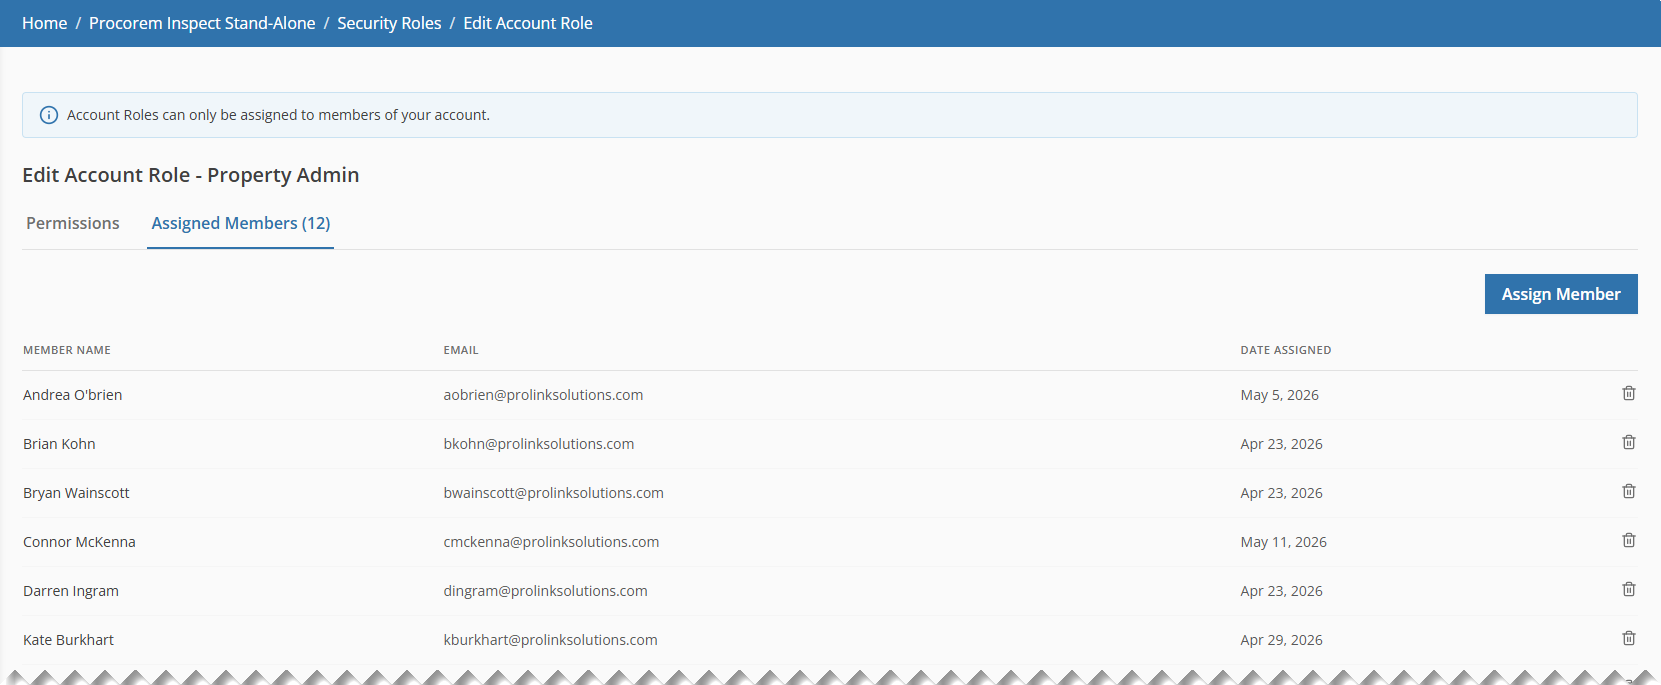 | |
The user must be assigned to an account role with the necessary security permissions. See Manage Account Roles for more information about account roles. |

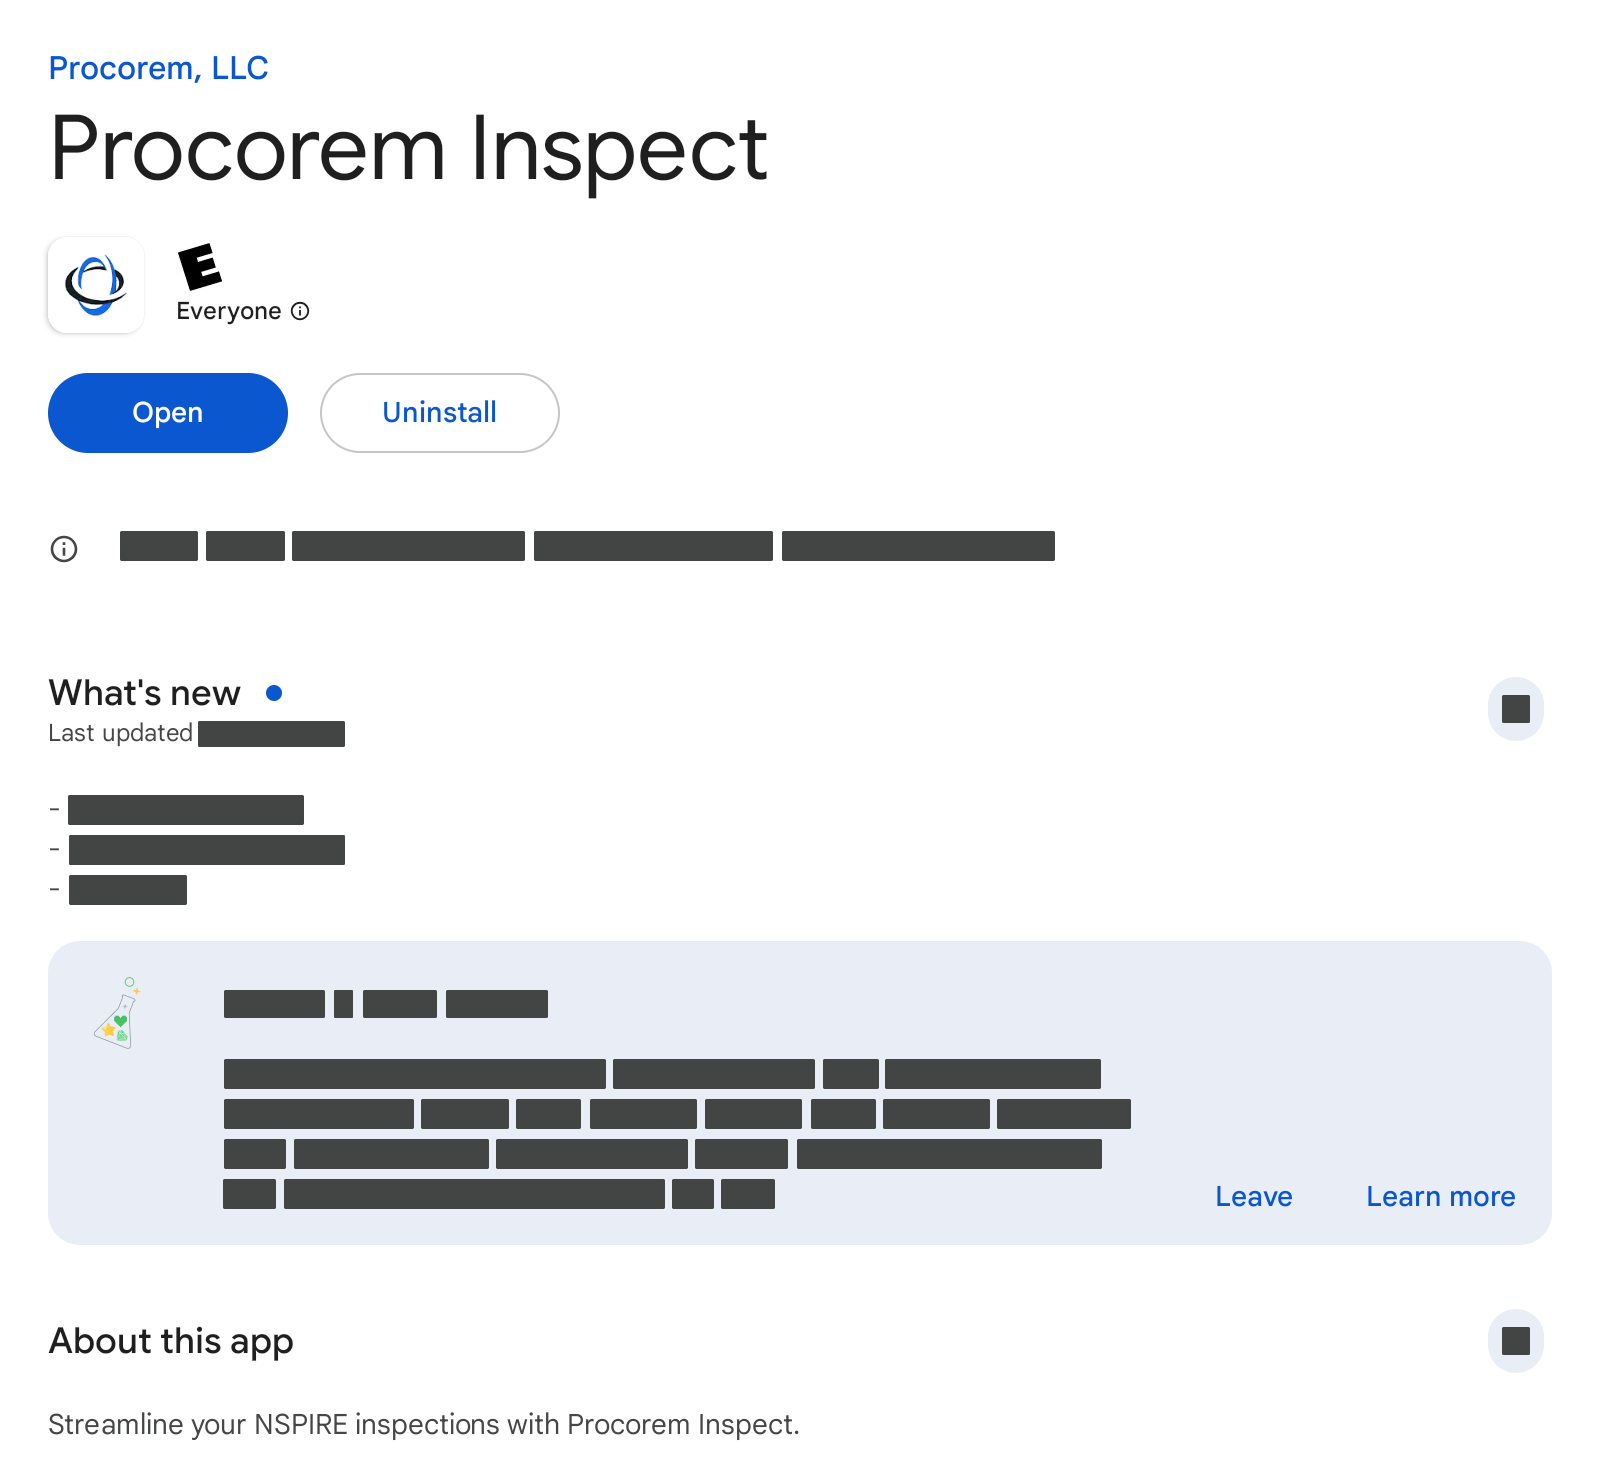
After Procorem setup is complete, you can continue onto installing and using Procorem Inspect.
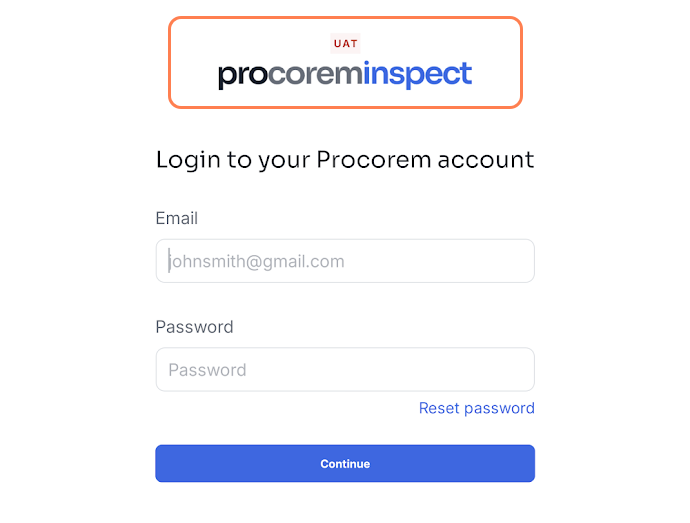
The same email address must be used for Procorem and Procorem Inspect.
|
| |
The user installs the app on the device. Check the compatibility guide for information about versions and supported devices. | ||
|
| |
The environment selection is correct (typically "production"). | ||
|
| |
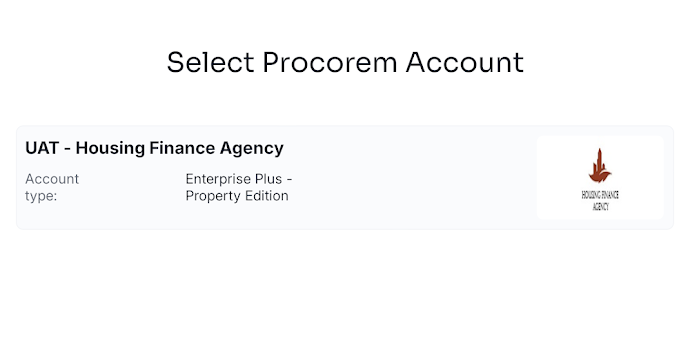
The user follows the steps for a first-time visit to the app. |

|
| |
|
| |
| ||
|
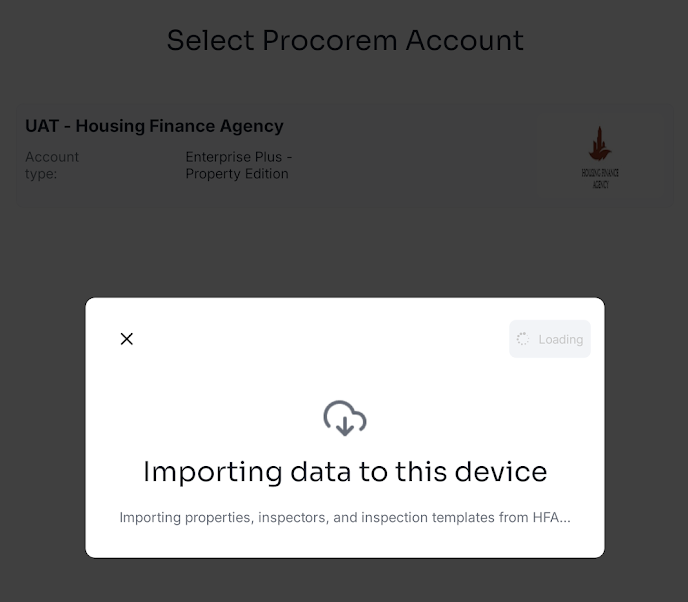
| |
(This happens automatically when you select the account.) | ||
|
| |


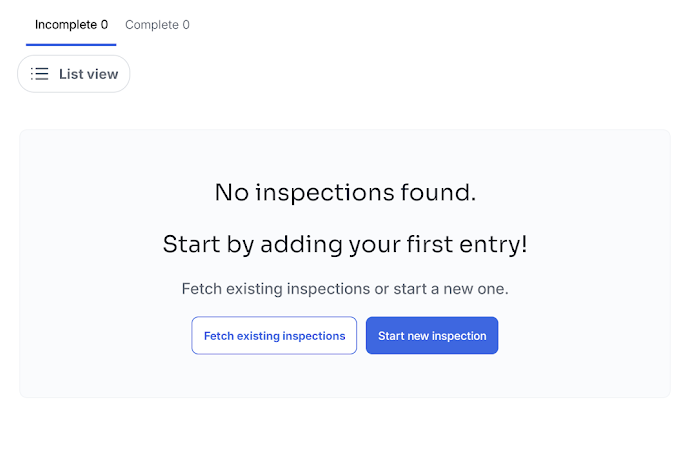


The Procorem Inspect app is designed so you can complete most tasks while you are offline; for example, if you are onsite for an inspection, you can record inspection areas and findings, even if you do not have internet access, provided you have set up the inspection on your device ahead of time.
Internet connectivity is required for logging in, fetching data (including inspection templates, properties, and inspections), and uploading inspection data.