Inspection Areas
To track inspection items, the inspection needs at least one inspection area. The inspection areas available depend on the selected inspection template. For the NSPIRE inspection template, the three inspection areas are unit area, inside area, and outside area. The tasks to add an area, view and edit inspection items, add findings, complete an area, and delete an area are similar regardless of the area type.
Note
ProLink supports custom inspection templates. For more information about custom inspection templates, please reach out to ProLink Support.
On the Manage inspection page, identify the section (such as Units, Inside, Outside), and then tap Add new.
Select the Area from a list of all units for the property or a list of all buildings for the property, depending on the area type.
The Inspector defaults to the primary inspector on the Inspection record, if one is selected. You can select from a list of available inspectors (imported to your device).
If the area type is Unit, you can optionally select the Occupancy status of the unit.
If the area type is Unit, you can optionally select the Unit status.
Optionally, enter Area notes.
Tap Add area.
The system creates a new inspectable area, populated with all inspection items for the area type. The Manage inspection page shows the new inspectable area.
Tip
After adding the area, you can return to the area details to add photos. Tap the options menu  on the Manage inspection page and then tap Edit details and photos. You can take a photo with the app or select a photo from the device's gallery.
On the Manage inspection page, tap the area you want to work.
A bottom sheet slides up to show all inspection items for the area type.
You can:
Tap N/A.
The system updates all unworked child inspection items as "N/A".
Tap No findings.
The system updates all unworked child inspection items as "No findings".
Tap Add finding.
The inspection item category page opens, which includes child-level inspection items.
Tab the arrow
 .
. The inspection item category page opens, which includes child-level inspection items.
You can add one or more findings for an inspection item.
On the Manage inspection page, tap the area you want to work.
A bottom sheet slides up to show all inspection items for the area type.
Tap Add finding.
The inspection item category page opens, which includes child-level inspection items.
Tap Add finding for the inspection item.
The finding details page opens.
Enter the Location.
Note
The Location field is a drop-down list if your system administrator configured location values for the inspection template's area. If not of the predefined options fit, you can type a custom value. If no location values are defined for the inspection template area, then the field is a text field.
Enter Notes.
Optionally, add photos related to the finding.
Take a photo. The image is stored in the app and added to the finding.
OR
Select from gallery. You can select one photo at a time from your device library.
You can view the images in the scrolling carousel section at the bottom of the finding details page. Tap the photo to enlarge it. You can swipe through the linked photos in the full size view. Tap the X to delete a photo, and then tap Delete image to confirm removing it.
Caution
Photos taken from the app are not stored in your device library. If you delete an image that was taken from the app, it is gone permanently.
Optionally, enter the Due Date for correcting the finding.
You can later return to the finding to enter the Date Corrected.
Tap the link to toggle between Show additional details and Hide additional details (for information such as Version, Criteria, and Observation).
Tap Save Finding.
The app saves the finding details and returns to the inspection item category page.
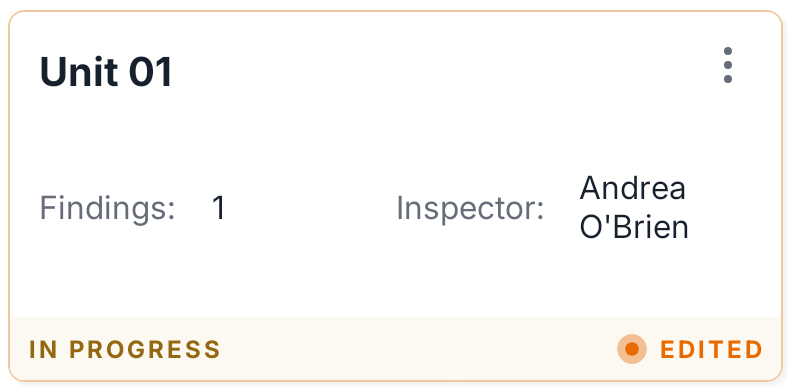
The Areas tab shows which areas have unsaved changes and lets you filter the list to focus on what matters to you.
When you make changes to an area that haven't been uploaded yet, the area card displays an orange dot and the label "Edited" in the bottom-right corner, next to the area's status.
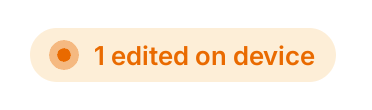
If any of your areas have changes that have not been uploaded, an indicator at the top of the Areas tab shows how many (for example, "3 edited on device"). This gives you a quick count of the areas queued for the next upload.
To filter the Areas tab:
Tap the Filter icon
 to open the filter panel. You can filter by:
My areas only—Shows only areas assigned to you. The sub-label displays your name and how many areas you have.
Edited on device only—Shows only areas with unsaved changes, regardless of who they're assigned to. This filter can be combined with a user filter.
Filter by user—Select any inspector assigned to this inspection to see only their areas. Select All areas to remove the user filter. If any areas have no inspector assigned, an Unassigned option is also shown.
Tap Done to apply your selections.
OR
Tap Clear filters and close the filter panel to reset everything.
When a filter is active, any section with no matching areas (Unit, Inside, or Outside) displays: "No areas match this filter — Try a different inspector or clear the filter."
Filter selections are not saved. Leaving the inspection clears the filter.
When you mark an area as complete, all findings become read-only. You can no longer edit the inspection items or findings, nor add or remove photos.
Note
After completing an area, you can continue to view the read-only details or you can mark the area as incomplete to make further changes.
On the Manage inspection page, tap the area you want to work.
A bottom sheet slides up to show all inspection items for the area type.
Tap Complete Area.
Tap Complete to confirm.
The app sets all remaining, unworked inspection items to No Findings (if they have not been marked as "No findings" or "N/A," and if no finding(s) have been added).
Deleting an area deletes the area from your device. Any data not synced will be lost.
On the Manage inspection page, tap the options menu
for the area to delete.Tap Delete Area.
A confirmation popup opens.
Tap Delete area to confirm the deletion.